The Dovetail Joint – Take A Step Into Advanced Joinery –
The dovetail joint is a classic woodworking joint that is known best for its use with drawers. But that’s not the only reason to use this joint.

Dovetail joinery can be used for many different types of projects, and the joint itself has several different variations.
There’s the standard through dovetail joint, there’s the half-blind dovetail joint, the sliding dovetail, the lap dovetail, and even the secret mitered dovetail.
But the most common of these, and a great place to start, is the through dovetail. This is amazing for decorative boxes, or even simply adding a decorative touch to any right-angle joinery.
Or you have the half-blind variation. This is very common with drawers, as it hides the joint from the front of the drawer, but still provides the strength of a through dovetail, and a decorative touch to the sides of the drawer.
Regardless of which one you make, the mechanics of the joint work the same. The joint slides together when it’s glued, and the pull-strength it offers is incredible (because of the wedge-shape of the joint).
This is why it’s so common with drawers. The pulling action on the drawer will never wear this joint out.
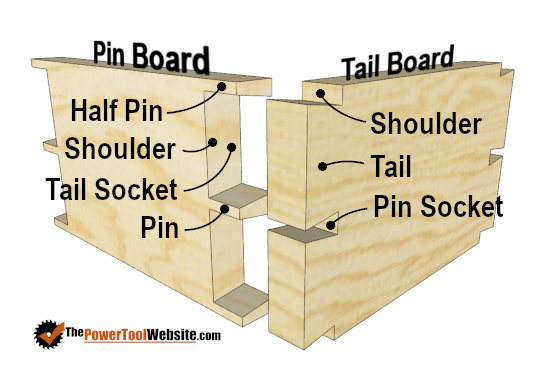
Here is another diagram of the through dovetail to illustrate what each part of the joint is called:
There are different jigs and tools you can use to cut dovetail joints. And depending on which variation of the dovetail you are going to make (half-blind, sliding, etc…), a different tool and method may be required.
Router Dovetails
For simple machined dovetails, which can be through-dovetails or half-blind, you can use a router and a dovetailing jig like pictured below.
These are store bought jigs and will give you very systematic and even looking dovetails.
While the ‘machined’ look may not be desired by all woodworkers, you can’t really make the process much simpler than using such a system.
I think this is ideal if you’re selling your work and need to churn out fast dovetails repeatedly over and over.
However, for dovetails with thin pins and wide tails, which is a very classic-looking dovetail, you’ll either want to cut them by hand, or by using your table saw with the proper sled or jig.
These methods leave you with a beautiful dovetail joint, in which you can have varying sized pins and tails, positioned however you desire.
Hand-Cut Dovetails
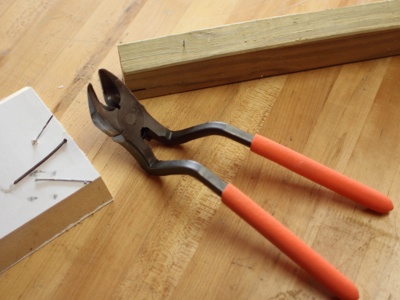
If you want to cut your dovetails by hand, ideally you’ll have a dovetail saw, a coping saw, a full set of chisels, and various dovetail guides at different angles.
You’ll also need a good vise on your work bench to hold your work piece vertically while marking and cutting.
Common dovetail angles range from 7 degrees up to 14 degrees.
The strength of the joint is not affected by the angle, but the look and feel of the joint is vastly different from one end of the spectrum to the other.
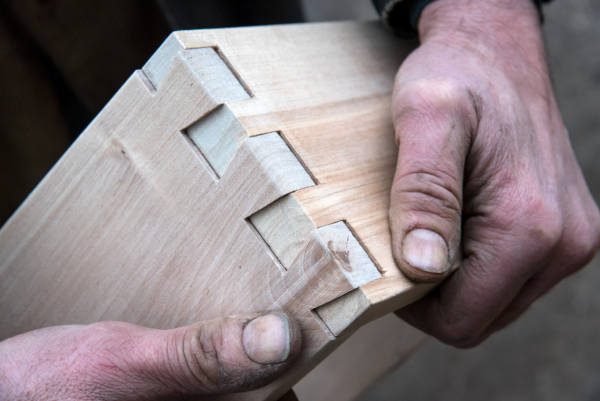
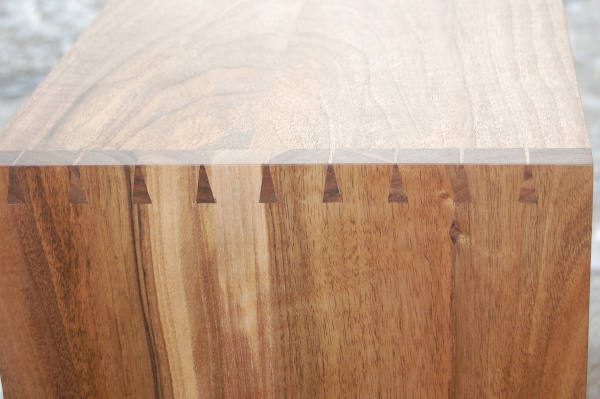
It’s really a matter of personal taste. For decorative work, and thicker pieces, you may prefer 7 degree dovetails or something close to that. That’s what we see here, the same case project from above:
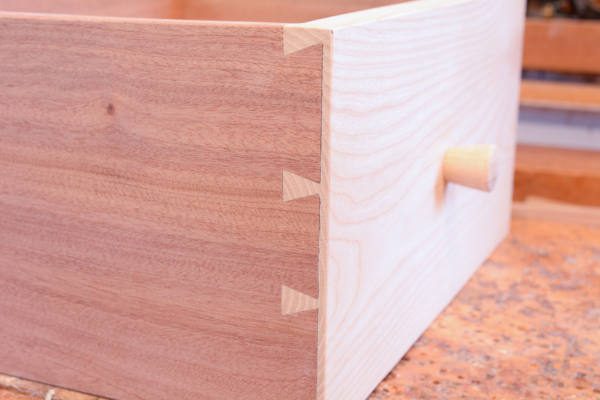
For working with thinner wood, or doing half-blind dovetails, you may want to stay near the other end at 14 degrees, which is like this drawer (also above):
Doing this by hand is a skill that will require much practice and will take awhile to perfect, but to some it’s worth it.
Hand-cut dovetails are kind of a big deal and if you can master the process, you will definitely have bragging rights.
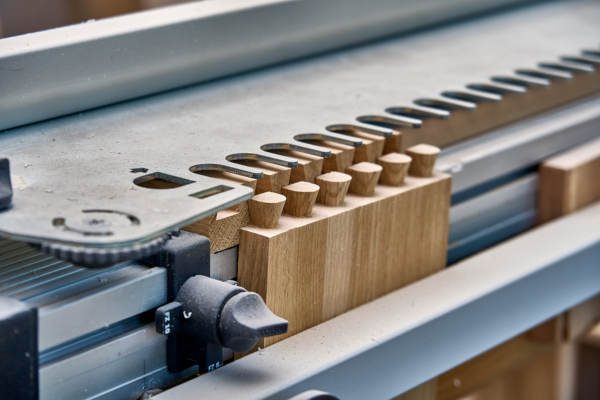
Table Saw Dovetails
If you prefer the hand-cut look with thinner pins, and want to take off years of learning curves, you can use a dovetailing sled and your table saw.

This method is much simpler, and you’ll be making clean looking dovetails within your first few tries.
Basically, you’ll use your dovetailing attachments for your table saw sled to support the work pieces at just the right angles.
Then it’s a matter of marking out each board, setting the blade height, and properly lining up the cuts.
Using your table saw will leave a bit of required cleanup on the shoulders of the sockets, which can be done with a chisel, a coping saw, or a scroll saw.
The trick is to use a marking knife when making your lines so you can keep this cleanup work as precise as possible.
Don’t let imperfections hold you back. Gaps are a common thing with dovetails, but they can be filled, and sometimes they still look good even with the gaps.
There are methods to filling dovetail gaps that include making small wedges, or using sanding dust and glue.
If you’re interested in a quality set of plans for a sled with a dovetail attachment, plus a guide on the process using the attachment to make your first dovetail joints, check out this table saw sled, and this dovetail attachment for it.

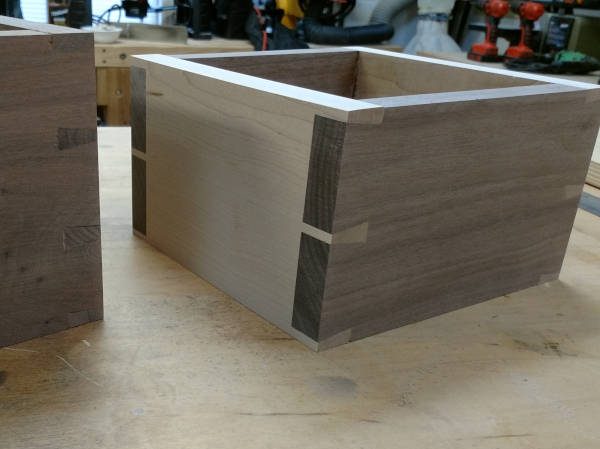
Here’s the first box I built with the dovetail attachment, and before this I had only attempted dovetails one time. This goes to show, with the right jig, you really can take years off your learning curves.