Leather crafting tips
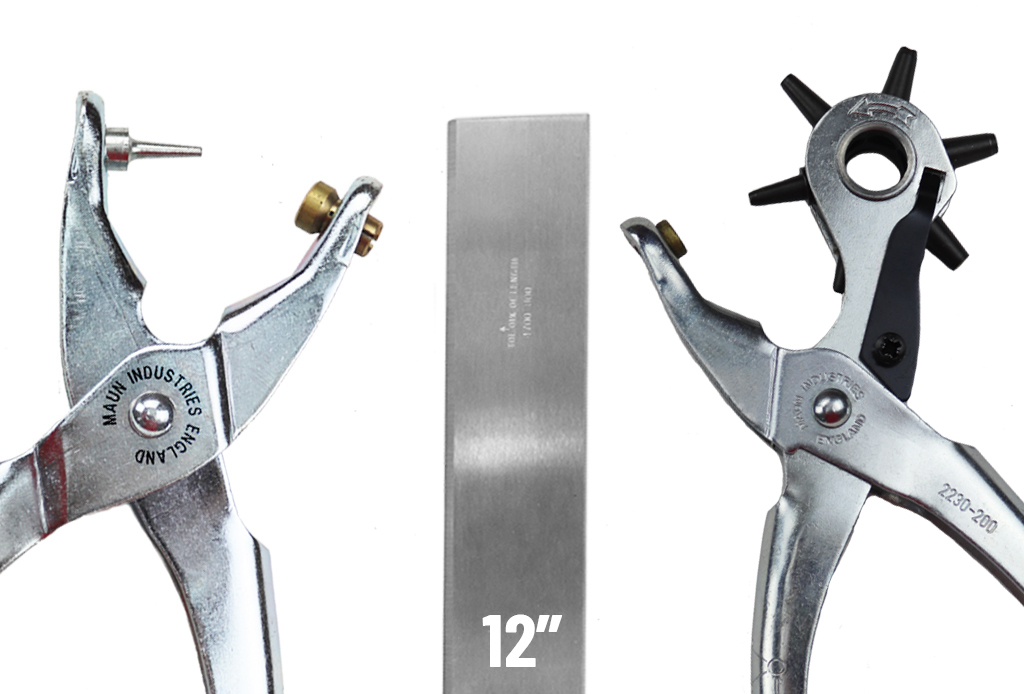
Maun Heavy Duty Revolving Leather Hole Punch Plier close up of the rotating punches. If you want to craft leather into amazing things, then you
need to know the right techniques and have the right tools.
In this post, we go over our top leather crafting tips for
producing exceptional leatherwork.
How to choose the right type of leather for your project?
The majority of leather comes from cowhides, and so the main
difference in the type of leather you’ll choose for a project is the grain and
the tanning process.
Vegetable tanned leather uses natural vegetable
tannins to alter the protein structure of the hide, changing it to leather.
This preserves, strengthens and gives colour to the leather. Tree bark is
commonly used for this. This is the highest quality of tanned leather and so
should be used on projects where appearance matters.
Chrome tanned leather uses chemicals to tan leather,
which is a faster and cheaper process. This tends to be used on thinner
leather, making it less durable and also less visually appealing. Use this on
projects where the appearance doesn’t matter as much and where they won’t go
through hard wear and tear.
Best tools for leather crafting
During leather crafting, you’ll have to have specialised
tools to do various different tasks.
Here we go over the best tools for each job of leather
crafting:
All in one: Leatherwork tool kits
If you’re looking for the best value for money, then a tool
kit can save you a lot when compared to purchasing the tools individually.
Here are our recommended leatherwork kits:
Best large kit for leather punching, measuring, and riveting

Winner: Leatherwork Kit Platinum 5 Tools
Pros:
- Five essential leatherworking tools.
- Ideal for creating premium quality leather
goods. - Perfect for soft and dense leathers.
- Hole Punch Plier – perfect for repeatedly
cutting holes in leather. - Heavy Duty Revolving Punch Plier – lets you cut
through leather thicker than 1.5mm. - Steel Straight Edge 18″ – small and agile for scoring
and cutting smaller pieces of leather. - Steel Straight Edge 36″ – larger straight edge for
scoring and cutting larger pieces of leather. - Cupped Rivet Plier 160 mm – used for closing
two-part rivets during your leatherwork. - UK made tools.
Click here to check the price
Best small kit for leather punching & measuring
Inner: Leatherwork Kit Bronze 3 Tools
Pros:
- Three essential leatherworking tools.
- Ideal for creating premium quality leather
goods. - Perfect for soft and dense leathers.
- Hole Punch Plier – perfect for repeatedly
cutting holes in leather. - Revolving Leather Hole Punch Plier – our
entry-level revolving punch plier. - Steel Straight Edge 12″ – small and agile for scoring
and cutting small leather pieces. - UK made tools.
Click here to check the price
Leather hole punch tools
Leather punches help you make holes in leather accurately
and consistently.
There are three main types of punches:
- Wad punches – these involve a single metal punch
with multiple sized attachments. To punch, you strike it firmly with a hammer. - Revolving punch pliers – these punches act like
a set of pliers, but with a revolving punch head, allowing you to quickly move
between different sized punches, making you more efficient. - Single Size Punch Pliers – these punch pliers
have a single punch head, helping you make the same hole multiple times in a
very short space of time.
Here are our recommendations for each type:
Best leather working punch tool

Winner: Wad Punch Set With Centre Punch Metric 5 mm To 32 mm (also available in Imperial here)
Pros:
- 9 different sized punches in one kit.
- Precision-made leather punch tool, accurate cuts
every time. - Comfortable to use over long periods.
- Interchangeable punches easily screw onto the
handle for quick changes. - Centre punch case hardened to HRC 57 for
durability. - A choice of metric or Imperial sizes.
- UK made.
Click
here to check the price.
Best revolving leather punch plier

Winner: Heavy Duty Revolving Leather Hole Punch Plier
Pros:
- Suitable for use with leather greater than 1.5
mm thick. - Helps eliminate hand fatigue during continuous
use. - Up to 70% less effort than a standard revolving
hole punch plier. - Accurate punch indexing holds punches securely
in the correct position. - Strong return spring on the handle for easy
operation. - Punches hardened for durability.
- Zinc-plated handles with plastic grips for added
comfort. - UK made.
Click
here to check the price.
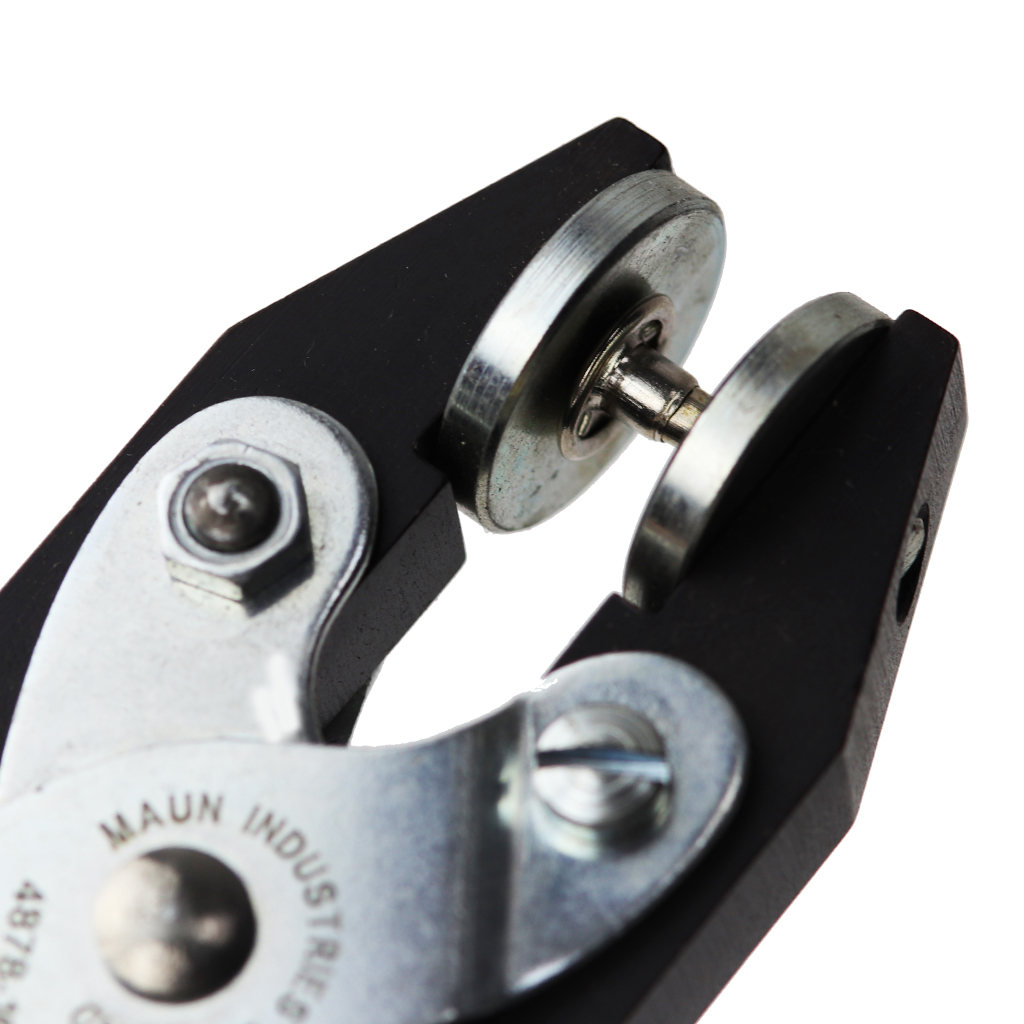
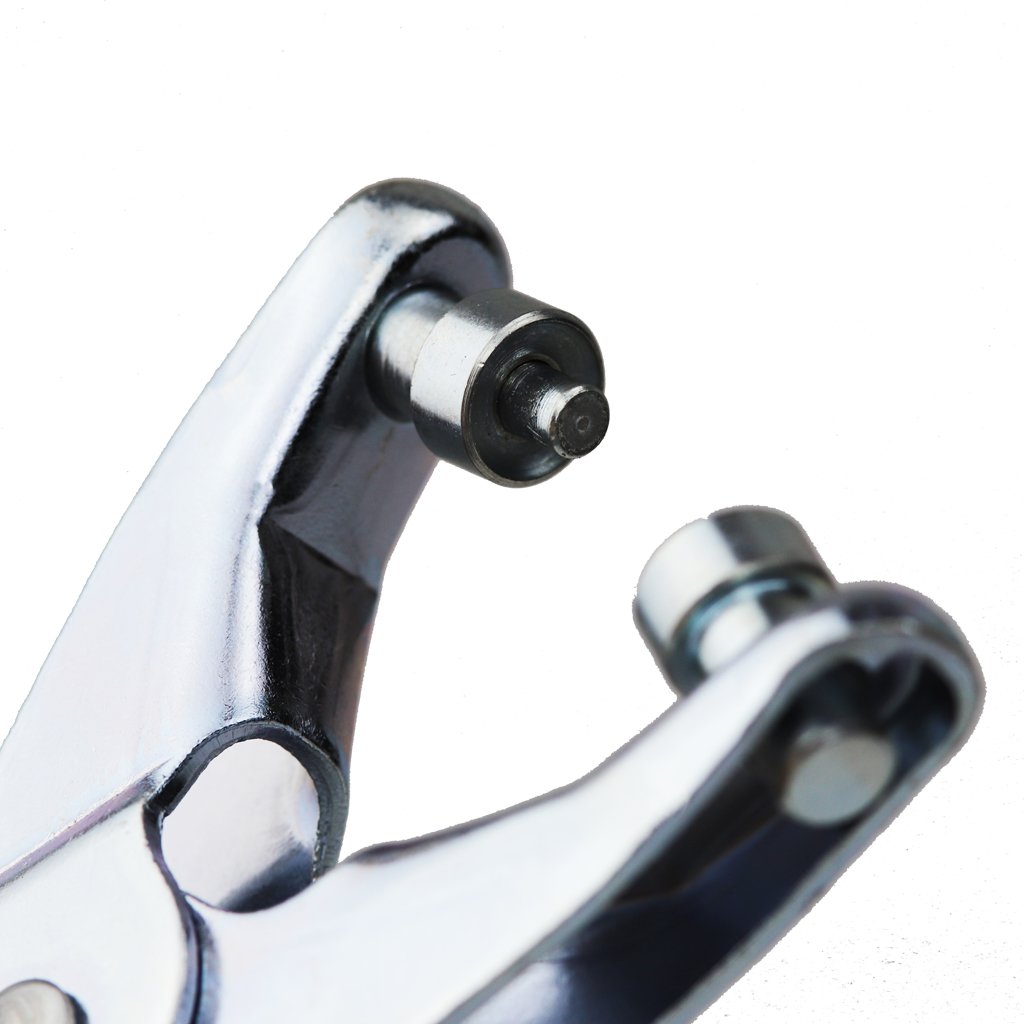
Best single size leather hole punch plier
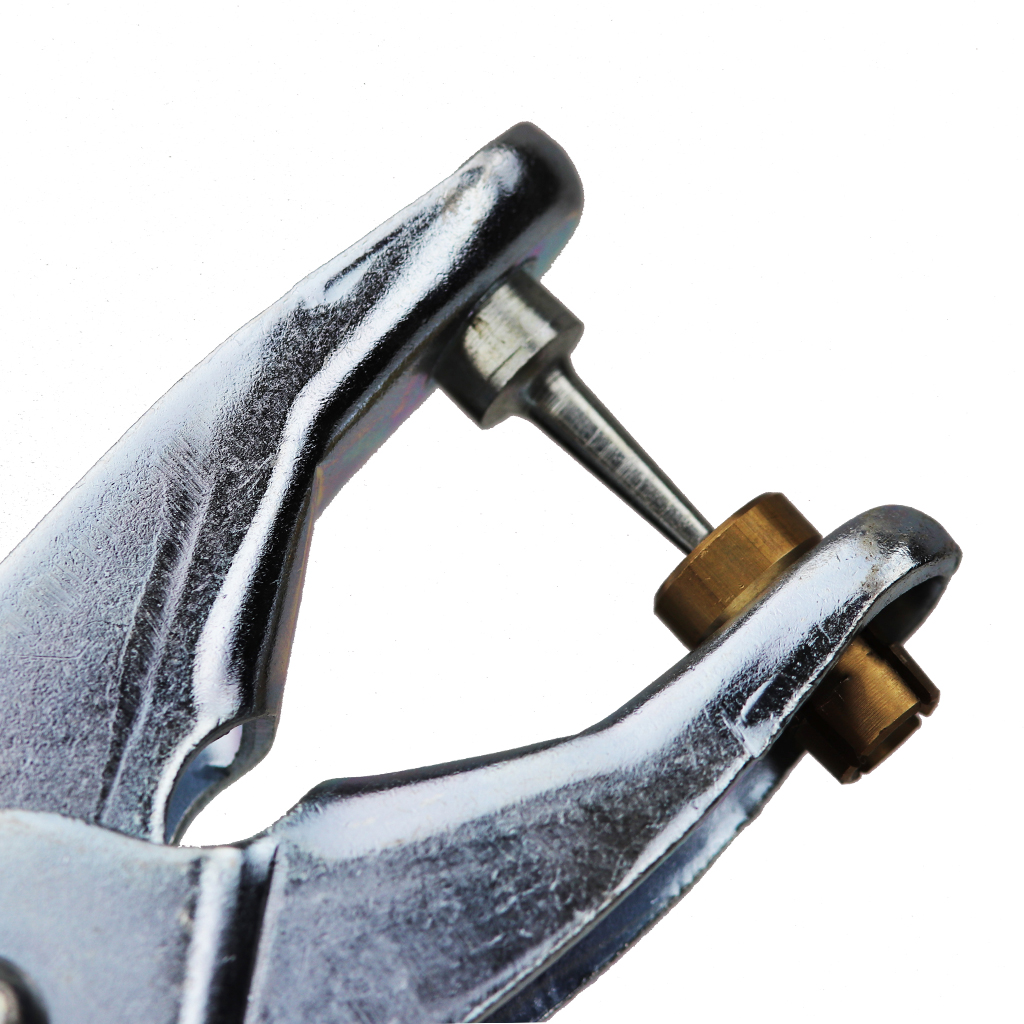
Winner: Hole Punch Plier 1.0 mm To 4.8 mm Punches
Pros:
- Cuts cleanly through leather with ease.
- Punches precisely machined from high-grade steel
and case hardened to HRC 57. - Pressed steel construction for a sturdy yet
lightweight design. - Tapered jaw bushes for easy insertion and
removal of attachments. - Self-aligning anvil enables the punch to produce
a clean cut. - UK made.
Click
here to check the price.
Leather fixing tools
Leather fixing tools help you attach fixings onto leather, which
is ideal for use in leather accessories or clothing.
Here are the main types:
- Eyelet Pliers – eyelet pliers make it really
simple to attach eyelets to pieces of leather. - Rivet pliers – rivet pliers make it easy to
attach rivets to pieces of leather.
Here are our recommendations for each tool type:
Best leather rivet plier
Winner: Cupped Rivet Plier 160 mm
Pros:
- Parallel movement of jaws ensures rivets close
evenly and not at an angle. - Ideal for manufacturing leather belts, saddles
and other leather goods. - Spring return for easy manipulation of parts.
- Jaws case hardened to HRC 57 for durability.
- Soft plastic grips for added comfort.
- Jaw opening of up to 14 mm to accommodate
various rivet lengths. - Available to buy with assorted rivets.
- UK made.
Click
here to check the price.
Best leather hole punch & eyelet plier
Winner: Heavy Duty Hole Puncher & Eyelet Plier 4 mm Eyelets
Pros:
- No need to buy separate punch and eyelet pliers.
- Multiplies hand force by 6 for less effort when punching.
- Precision-ground punch for clean-cut holes.
- Adjustable gauge for equidistant punching from
the material edge. - Strong spring return for easy handling and
efficient punch removal. - Designed for use with our 4.0 mm eyelets.
- UK made.
Click
here to check the price.
Leather marking & measuring tools
When you’re working with leather, you need to make sure
you’re making accurate cuts.
That’s where measuring tools come in, helping you
standardise your leather crafting and ensure you’re working to the exact
specification of the project.
Here are our recommendations:
Best straight edge for leather work

Winner: Steel Straight Edges
Pros:
- Surface ground for a smooth, comfortable finish.
- Ideal for marking and scoring leather.
- Crafted from high-quality carbon steel.
- Case hardened to HRC 57 for durability.
- Available in a wide range of Imperial and metric
lengths. - A single 6 mm-diameter hanging hole for easy
storage. - Packaged in a clear plastic wallet with
anti-rust paper. - UK Made.
Click
here to check the price.
How to cut leather
There are several easy ways to cut through leather:
- Thin leather – to cut thin leather, you can use
scissors or some leather shears, which allow you to follow a cutting template
easily. - Thick leather – a sharp utility knife is the
best way to cut through thicker leather. However, we recommend you use a
straight edge to mark and keep the leather in place when cutting, as it’s far
safer when using a knife. Learn more about straight edges here.
How to glue leather
Gluing leather is an easy way to make strong connections.
It’s a simple process, and here’s how to do it:
- Roughen up or scratch the two leather surfaces
you want to glue. - Go somewhere with good ventilation to reduce
harm from glue fumes. - Clean and dry the leather surfaces.
- Use a thin and consistent layer of glue.
- Push the two pieces together with firm pressure.
- Clamp the pieces together and leave for as long
as the glue drying period.
How to burnish leather
Burnishing leather is used to smooth out rough edges, often
found after cutting.
It really adds a lovely finish to leather goods, so it’s
well worth the time it takes.
- Bevel – use a beveller to round the edges of your
leather. - Sandpaper – use sandpaper (multiple grits,
starting with 150 grit) to give the edges a nice round shape. - Dye – dye the edges of the leather that aren’t
already the right colour, making sure you don’t overdo it. - Wet the edges slightly, then add it to the
burnisher, and burnish back and forth until you hear a tacky sound. The edge
should now look glossy. - Apply beeswax to finish.
Is leatherworking difficult to learn?
It’s quite easy to start leatherworking when compared to
other hobbies. The skills are quite basic, and the setup costs are fairly low.
It can take as little as a few hours to make something small, like a leather
wallet, which helps you build up your confidence over time.
Best projects for beginner leather crafters
The best projects for those starting leather crafting are
ones that are small and require less technical work. A simple card wallet is
ideal for this, as it helps you practice a lot of the basic skills of leatherwork,
including cutting, dyeing and stitching – but on a very small scale. Other good
starters include leather keyrings and pet collars.
Conclusion
We hope you enjoyed our post on leather crafting tips.
Browse our related pages below, or contact us with any
questions:
- Best
UK Made Leather Working Tools - Craft
Tools - Revolving
Punch Pliers - Types
of Pliers - Jewellery
Making Tools for Beginners