Repair Vehicle Dents Effectively with Hammers and Dollies – Blog
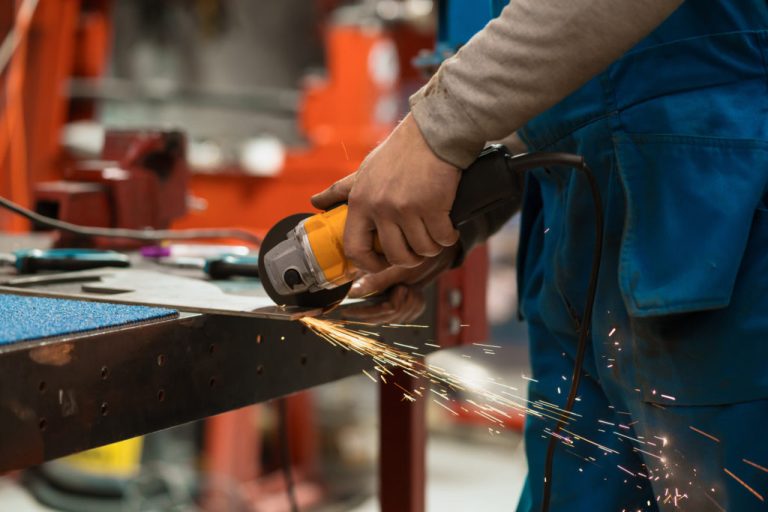
Vehicle owners often face issues such as dents and scratches on their vehicles. Dents can occur due to various reasons such as friction with foreign objects and elements, accidental bumps, heavy hails and windstorms, cramped up parking spaces, and so on. While these are quite common causes, dents can be disturbing and often unavoidable. Also, getting a dent repaired from a garage can be expensive as it may require some paint. So, it is always the best practice to keep handy tools in your vehicle that help repair dents on your own. There are several tools available that enable you to perform dent repairs precisely. Auto hammers and dollies are popular among them. They are an essential part of a hand tool kit where sheet metal work such as fabrication or tapping is done. Though they may look simple, using them requires enough experience and skills for the required effectiveness. Now you may ask, how to use hammers and dollies for dent repair? This post answers the same. So, stay tuned.
A Quick Overview of Hammers and Dollies
Before getting into how to use hammers and dollies, it is important to understand what they are. This section explains hammers and dollies in detail. So, let’s have a look at them.
- Hammers: Popularly known as a mallet, a hammer is a handy tool which is not restricted for use in workshops. You can have a hammer at home for domestic uses as well. This simple tool features a weighted head attached to a long handle that delivers impact to a small object. More to this, it has a cutting tool at the other end, allowing you to make cuts when required. There are different types of hammers in use today, including bumping hammers, pick hammers, chisel hammers, shrinking hammers, and slap hammers.
- Dollies: The dolly acts as a backup device. It is used behind the hammer for shaping the metal. The most common types of dollies include toe dolly, heel dolly, wedge dolly, and utility dolly.
Browse the best selling Hammers and Mallets:
| PRODUCT | SKU |
| Wood Shaping Bossing Mallet | WFWM |
| Wood Shaping Bossing Mallet | WFWBOS |
| Nylon Bossing Mallets | WFBOSSMAL |
| 2″ x 4″ 17 Ounce Barrel Mallet | MFM17 |
| 2-1/4″ x 10″ 20 Ounce Barrel Mallet | MFM20 |
| 4″ x 8″ 52 Ounce Barrel Mallet | MFM52 |
| 3 Piece Barrel Mallet Set | MFM3SET |
| 9 Ounce Nylon Bossing Mallet | WFBM9 |
| 23 Ounce Nylon Bossing Mallet | WFBM23 |
| 3 PC Bossing Mallet Set | WFBM3SET |
| 32 Ounce Nylon Bossing Mallet | WFBM32 |
Browse the best selling Sheet Metal Forming Dollies product range:
| PRODUCT | SKU |
| Finger Dolly | DOLLY FINGER |
| T-Dolly Set | 0.5″ to 2″ T-dolly |
| Curved T-Dolly | 0.5″ to 1″ Diameter |
| Tapered T-Dolly | 1″ to 2″ Diameter |
| Forming Head Dollies | Tank, Bowl and Dome Shaped |
Effective Ways to Use Hammers and Dollies
Here are two most common techniques of using hammers and dollies including others
This is one of the popular metal straightening techniques used to level the smaller imperfections. In this, the dolly is precisely placed behind the affected area. Extra care needs to be taken while tapping the hammer. One should lightly tap on the metal so that the metal does not stretch. If the metal is stretched beyond its limit, it should be shrunk. Simply put, the area that is being hammered moves up, while the metal part stays in its place.
Hammer off dolly is the most preferred technique used to remove a majority of dents. This should be used until the final straightening of metal occurs. In this, the metal piece is placed far from the dolly. When hammering on high spots, the dolly touches low spots on the metal and vice versa. For better rebound action, keep close contact between the dolly and the hammer.
Selecting the appropriate hammer for the task at hand is crucial. A ball-peen hammer is excellent for shaping metal surfaces, while a rubber mallet is gentler on delicate materials. Opt for a heavier hammer when working with stubborn materials, but choose a lighter one for finer adjustments.
Placing the dolly correctly beneath the metal surface can make or break your work. Aim to position the dolly directly opposite the hammer’s striking point. This balanced approach ensures an even distribution of force and minimizes distortion.
Achieving consistent results requires mastering hammering techniques. Whether you’re using light taps for delicate shaping or powerful blows for major adjustments, maintain a steady rhythm to avoid overworking the metal. Practice and experience will refine your touch.
While flat surfaces are relatively straightforward, shaping complex curves demands finesse. Use a dolly that matches the curvature you intend to create. Gradually work the metal in sections, alternating between hammering and dollying until the desired shape emerges.
Shrinking and stretching metal requires patience and precision. Work in small increments, using a shrinking dolly to compress the metal or a stretching dolly to expand it. Alternate between hammering and dollying until you achieve the desired contour.
In some cases, metal may become too rigid to shape effectively. Annealing, the process of heating and cooling, can restore its malleability. Heat the metal until it glows red and then allow it to cool slowly. This technique enhances your ability to shape challenging materials.
Restoring vehicle panels requires finesse and accuracy. Start by identifying the dent’s center and working outward, using a dolly to support the metal while you gently tap with the hammer. Progressively adjust your approach until the dent disappears.
Planishing is the art of refining metal surfaces to perfection. Use a planishing hammer with a smooth face to create a uniform texture. Work systematically across the surface, overlapping hammer marks to achieve a flawless finish.
Hammer forming allows you to preserve a metal piece’s original contours while making subtle adjustments. Employ a wooden form to support the metal from behind and a hammer to delicately shape it. This technique is ideal for achieving precision without compromising the initial design.
Once you’ve achieved the desired shape, it’s time to refine the surface. Use a file to remove rough edges and imperfections, followed by sandpaper for a smooth finish. This step is crucial for both aesthetics and functionality.
Working with hammers and dollies requires safety precautions. Wear appropriate gear, including gloves and safety glasses, to shield yourself from potential hazards. Additionally, ensure your workspace is well-lit and adequately ventilated.
Feel free to contact us at 1-810-632-5419. We are always here to help. At Woodward Fab, we provide professional tools for professional results!
Related Post:
-
10 Proven Ways to Boost Your Car’s Performance
-
Sheet Metal Stamping Presses: Precision in Manufacturing
-
How the Electric Vehicle market is driving changes in sheet metal fabrication technology
-
Choosing the Right Exhaust Pipe Bender for Your Workshop
-
From Steel To Style: The Evolution Of Auto Fabrication And Design