How to Make a Wood Sign with Calligraphy Writing
A wood sign makes a great decorative piece, and they’re fun builds to work on. We’re sharing our latest DIY project to add personalization to your decor. Use the tools below or whatever you have on hand, and as always, shop Acme Tools for any tools needed.
Wood Sign Materials
- 4”x 18” piece of wood
- 3M Paint Sanding Respirator Mask
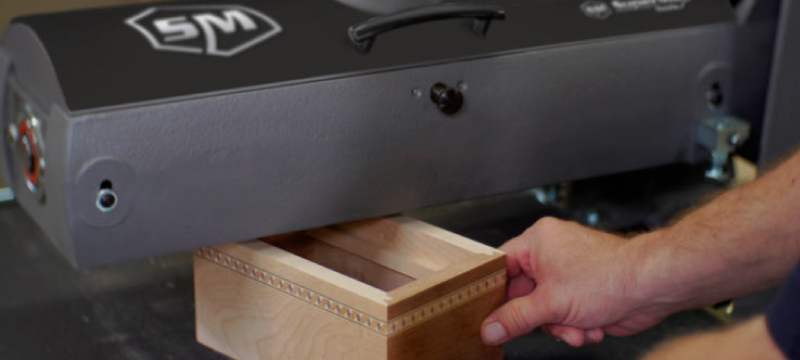
- Makita 5” Orbital sander
- 80-grit, 120-grit and 150-grit sanding discs
- Drop cloth
- Foam brushes
- Rubber gloves
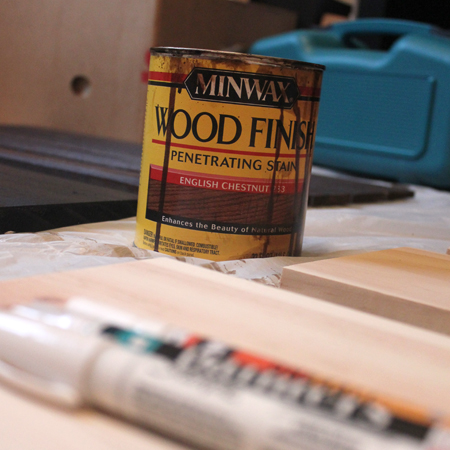
- Wood stain: Minwax English Chestnut
- Minwax Polycrylic protective finish
- Ruler or tape measure
- Painters tape
- White Chalk or pastel pencil
- Moltow Paint pens
- Sawtooth hanger
Step 1
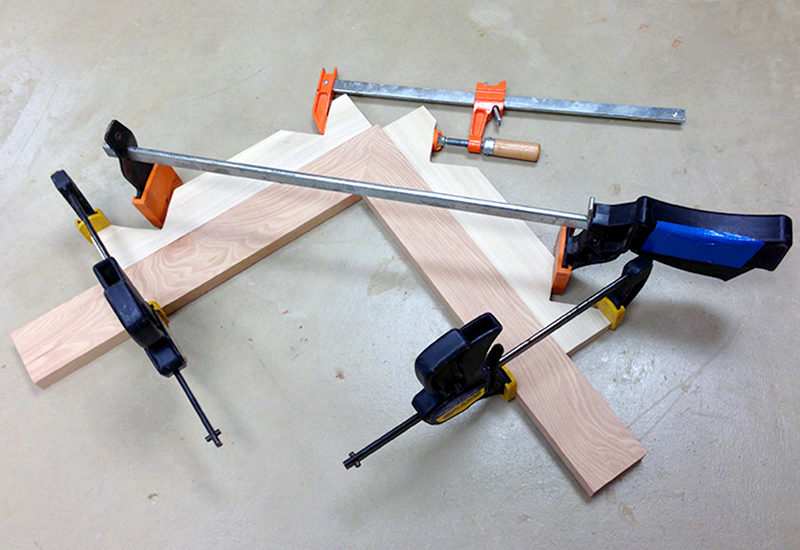
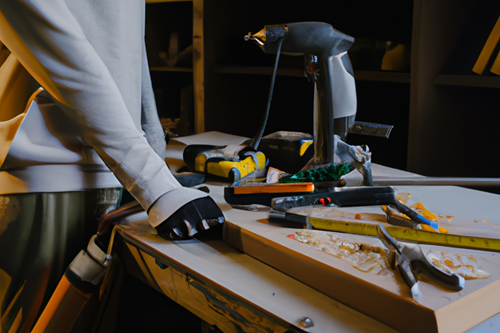
Start the wood sign by deciding what size of board and what type of wood you’d like to use. The piece used in this project was cut and ripped from a generic 2″ x 4″ that we had on hand from scrap. If you are cutting your own wood, make sure to use power tools as recommended with the correct safety gear.
Step 2
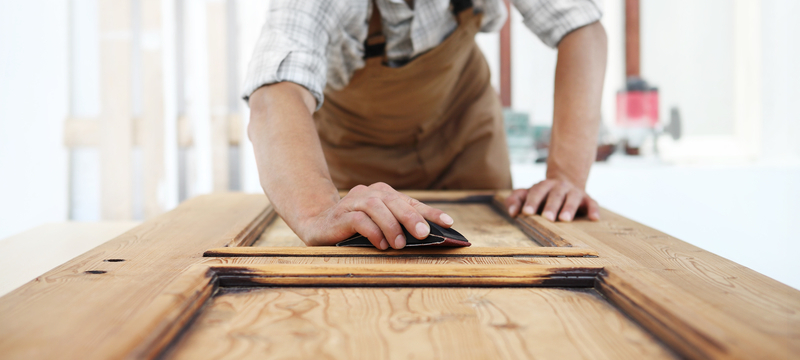
After the wood is cut to size, we’re going to move on to sanding. Sanding allows the stain to go on smoothly and makes the lettering process easier because a smooth surface won’t rip your brushes or pens.

We used a Makita 5″ orbital sander and started with 80-grit sandpaper. The first sanding pass will do a portion of the work by removing imperfections in the wood and leveling the surface. The second grit is used to smooth the previous pass. It’s always a good idea to sand the edges just a little to prevent snagging or injury when being handled. Once the piece is sanded, wipe it down with a dry cloth to remove all excess dust.
Remember to wear a respirator or dust mask when sanding so that the dust particles are not inhaled. Also, make sure you are wearing proper eye protection.
Step 3
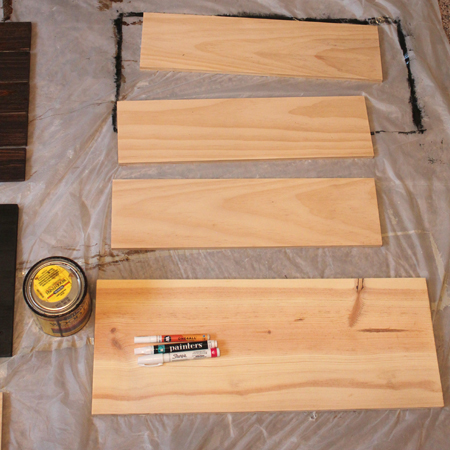
Next, find an indoor or outdoor location to start staining in. When using an oil-based stain like the Minwax English Chestnut, make sure there is some airflow because the smell can get overwhelming.
Ensure that the stain is stirred and mixed well. You can get wood sticks or dowels for stirring in your paint section at your home improvement or hardware store. Using a foam brush, dip the brush in the stain lightly and remove any excess by dragging the brush lightly against the inner edge of your stain can. Stain the board against the grain first. This allows the stain to get into the pores of the wood. We stain against the grain and then push the excess stain with the grain so that there is not a thick layer of stain.
If you want a darker stain for your wood sign, a layer can be left on for as short as 5 minutes or even up to multiple hours, depending on the desired darkness. For this project, the stain went against the grain first and then stroked with the grain to remove the excess for a more natural-looking stain. Allow the stain to dry for 12-24hrs. If the board feels tacky or sticky, it’s not dry!
This project is best over the course of a few days, especially if using an oil-based stain and depending on the darkness desired. You can choose to stain one side, or both depending on preference.
Step 4
When the stain is dry, add a coat of the polycrylic protective spray finish. This step ensures that the porosity of the wood or the amount of stain used won’t cause the paint to bleed. This step can be skipped, but it is not recommended. If choosing to skip this step, be extra careful on the lettering portion.
Step 5
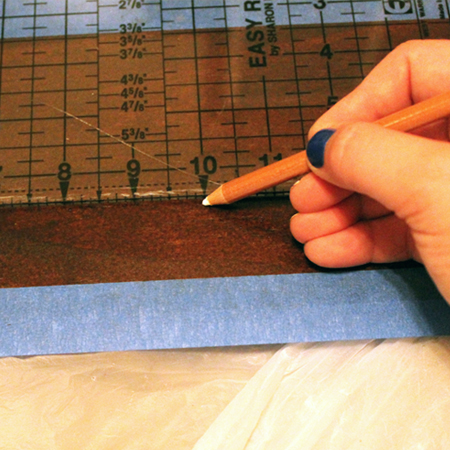
After the polycrylic is completely dry, you’ll want to decide what word/name you want to letter on your board. Using the tape measure, chalk/pastel pencil find the middle of the board and mark it. You’ll want to give space on each side for your word. For this board, we went in 2.5″ on each side, leaving 13″ of workspace for lettering. Then put painter’s tape along the bottom and top edges of the board. This makes sure that the lettering doesn’t fall off the edge. The middle letter of the word will go on the middle of the board.
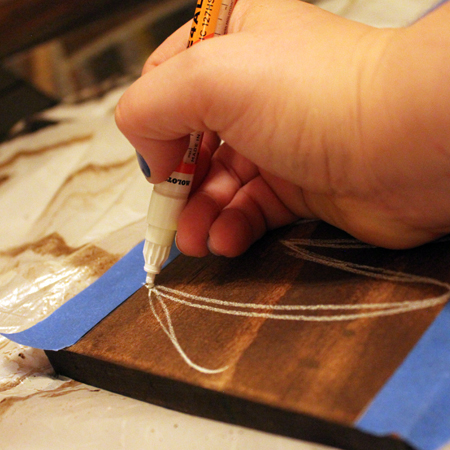
Step 6
Using the chalk pencil, lightly write the middle letter, then move to the right or left to finish out the word. This makes sure that the word is centered on the board. You’ll want to write out your word with enough space between the letters for the thickness of the calligraphy.
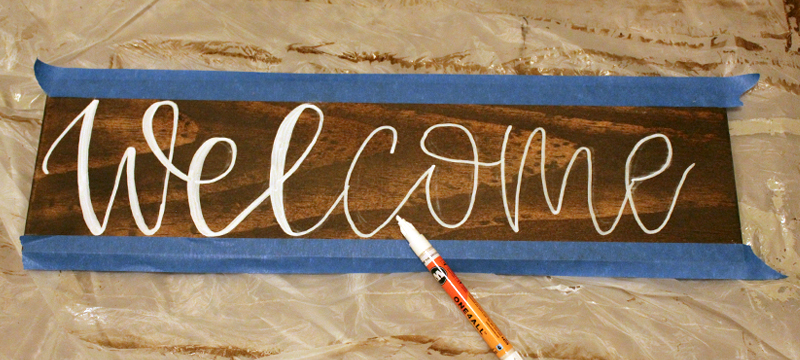
Step 7
Once you are satisfied with the spacing of your word, you are ready to use the Molotow paint pen to write/paint the word on the board. The rule of thumb with hand lettering calligraphy is thin on the upstroke, and thick on the downstroke. There are many online resources to learn calligraphy or modern brush lettering, but this is the first rule of the process.
When using the Molotow paint pen, you want to shake it vigorously with the cap on. We always use a scrap piece of wood, or dark paper to test the flow of my pen and keep the ink flowing.
PRO TIP: if you pump it too much, it will flood. Make sure always to pump your pen on your scrap and never on your project, or you’ll end up with an ink puddle.
Step 8
Do one layer with the Molotow Paint pen and wait about 10-15 minutes for the first layer to dry. Then add your thickness on the down strokes of your word, and extra layers for a brighter white. Results may vary depending on how much polycrylic you sprayed on and the porosity of the wood you chose.
Step 9
When finished lettering, let dry for about an hour, or even overnight. If you have leftover chalk on your board, use a clean pencil eraser or a DRY cloth to wipe away access. You do not want to use a damp cloth because that will press the chalk or pastel into the wood and leave a white residue or shadow.
Step 10
Once the board all cleaned up, it’s ready for its final coat of polycrylic to seal. If your wood sign is going outside, do multiple coats over time. Three coats should suffice. Make sure each coat is dry before adding another coat.
Step 11
The final step is to add your sawtooth hanger. Depending on the length of your board, you can use one hanger in the middle. If your board is a bit longer or heavier, you can use two on each side.
Author: Kayla G.
Kayla G. is Acme Tools’ resident Digital and Web Designer. Her love for creating started at a very young age with a passion in drawing. Her interest in Calligraphy and Woodworking stemmed from needing a creative outlet from her busy schedule. If she is not doing Brazilian Jiu Jistu she is at home with her 2 cats and husband making her artistic ideas come to life.